Wednesday, July 14, 2010

Free stuff from Fishsticks!

Fishsticks Designs is giving away all kinds of great stuff this week with their photo contest, but the best part is you don't even have to submit a photo to win! 
Goodies include MINKY diapers, mamma made tags and patterns.
Check it out on the Fishsticks and Fries blog
They've got a load of great free tutorials and some of the best indie knit clothing patterns available.

Thursday, May 6, 2010

Spikey Tutus

This is a fun little twist. To give a tutu the pokey look, start with a tie on strip style tutu (like step 1 here). All you have to do then is tie a little knot at the end of each individual strip! Kinda looks like some sort of exotic flower don't ya think?! Cute!
100_4572

Monday, May 3, 2010

Selling your diapers.........

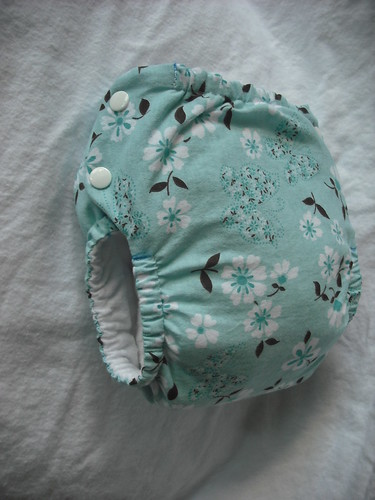
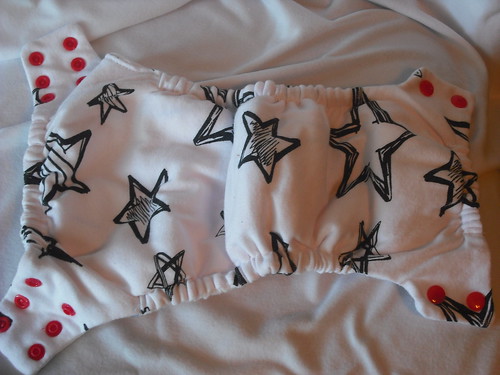
I've been getting a lot of questions about licensing on the Cloth Revolution diaper pattern. I do not require WAHMs to obtain any sort of license or approval in order to sell diapers they have created with my pattern.

I do ask, however that you simply post a link to the pattern in your listings. I am working on getting a cute little button you can use for this (look for that soon) but until then the link will suffice:
http://themafiatutu.blogspot.com/2010/04/free-cloth-diaper-pattern.html

I also ask, out of general crafty courtesy, that you do not misrepresent the pattern under another name, claim that it is your own pattern, leave it nameless, or imply that I made it! Buyers like to know what they are buying! So please label it as the Cloth Revolution pattern, but don't forget to tell them it was made by you! : )

I would love to see your listings! If you are selling from the pattern, feel free to send me a link at clothrevolution@gmail.com You could be selected as a Featured Diaper Artist on this site!


Also, if you are a WAHM diaper seller looking for more exposure, you may want to consider becoming a site sponsor! This is a very affordable way to spread the word about your business. Email me for info on sponsorship opportunities for this site.

Friday, April 23, 2010

Free cloth diaper pattern!

*Update* If you see a message that says the document is unavailable, it's just google docs being weird. Just follow one of the links below the viewer and click download. You will then be able to view or save the file. Also, please note that I receive a HUGE volume of request to share the document in google docs and I just don't have time to manage that. Please just print it out or save it. <3


Click below to download the PDF document(s)!

Cloth Revolution diaper pattern

Pattern Instructions

 or  Pattern/Instructions in one document

If your like myself, you cut out the pattern and toss the instructions over your shoulder. In that case you can save time by just downloading the pattern file.

Now, if you would appreciate some well written, informative, love filled photo instructions that have been called "the best diaper sewing instructions ever, free or otherwise" then go ahead and download both documents!


The pattern pieces need to print out to scale, so before you print, be sure to turn off auto-rotate and center. There is a 1 inch square on each page, so verify that the box is actually one inch square!

DSCF1350Stars
Awesome photos by jgmzii !

         PRINTING ISSUES CHECKLIST:
  • Check that you have the latest version of adobe reader
  • Turn off auto rotate, center, and page scaling on the print set up page
  • Set orientation to landscape
  • If you downloaded one of the individual documents, and you're getting a message about a password to print (this has happened to a few people but most can print w/o problems) try the pattern and instructions in one document instead.

    Now get to sewing, show off your creations in the Flickr Pool,
    then come back and show me some 
      Creative Commons License
      The Cloth Revolution Diaper Pattern by cloth revolution is licensed under a Creative Commons Attribution-Share Alike 3.0 United States License.
      Based on a work at themafiatutu.blogspot.com.
      Permissions beyond the scope of this license may be available at

      Thursday, April 22, 2010

      Tu-Tu-Tutorial Time!!!


      First of all, and this goes for all of my post, I am a craft-a-holic, NOT a photographer! My pictures leave much to be desired.
      Now, getting on to business.... You could call this the bell tutu, buttercup tutu, double-fluff tutu, but I prefer simply the MAFIA STYLE TUTU. Its not nearly as complicated as you might think. I have never purchased one of these or any other tutu (I'm just too dang crafty to buy things) and I have no clue how anyone else actually makes tutus that they sell. But this is how I make them....MAFIA STYLE

      Basically we're looking at 3 steps
      1. Make your basic tie on strip style tutu (I will go into brief detail on this. If you've all ready got that down, skip to THE FUN PART)
      2. Make a loop out of each pair of strips
      3. Attach those loops together by tying on short strips at the bottom

      STEP ONE
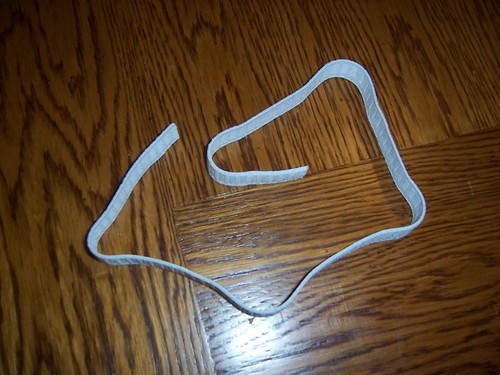
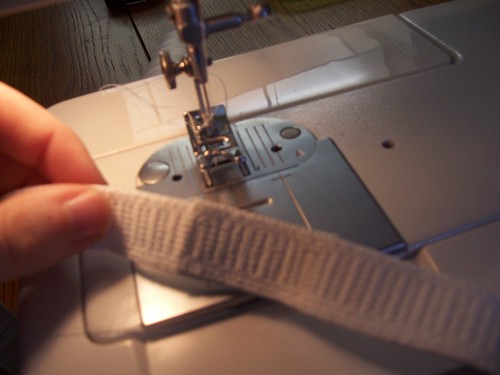
      Measure the desired waist size, sew an elastic band together to make a loop. I used a 20 inch strip on 1 inch waistband elastic.
      100_4528

      100_4530

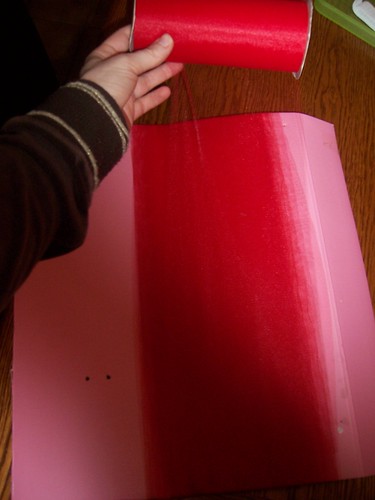
      Measure and cut your strips. I used a 40 yard roll of 6 inch wide tulle, cut 30 inches long. To ease this process I created a 15 inch cardboard template and wrapped the tulle around it. That way I only had to make one cut to complete all the strips.

      100_4532

      100_4533

      100_4534


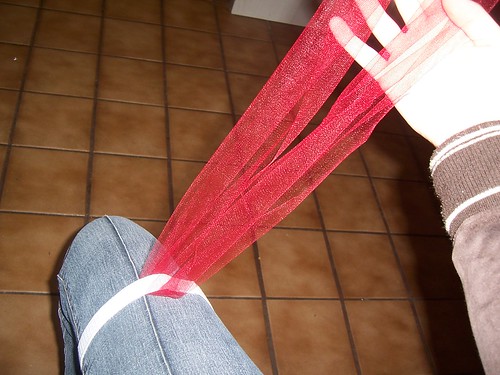
      Now sit down, put the elastic band over your leg and tie each strip onto the band.
      100_4536
      Do this with each strip. You can repeat step 2 for each strip as you go, or finish all of step one before moving on.

      STEP 2

      I cut another cardboard template, this time 10 inches wide. Use this to make a 10 inch loop frop each pair of strips. Just tie a knot at the end of the template.

      100_4538

      100_4543

      100_4539

      STEP 3

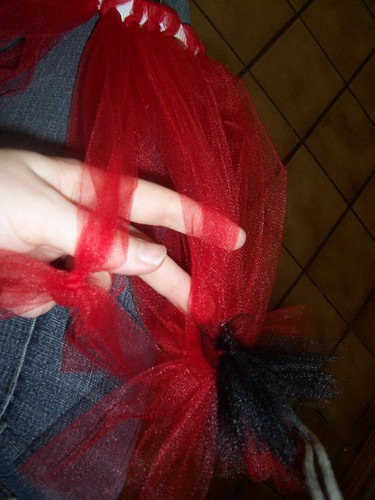
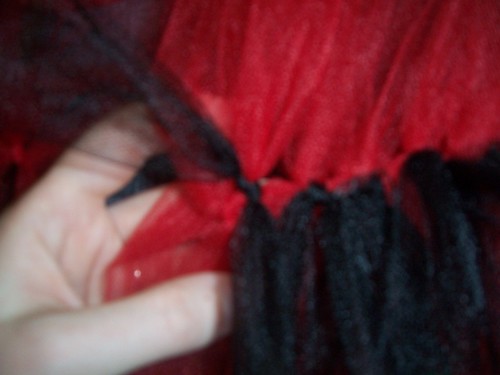
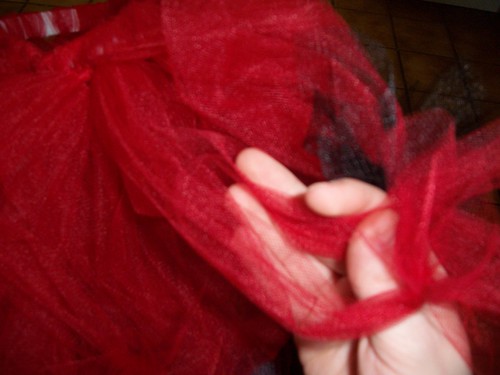
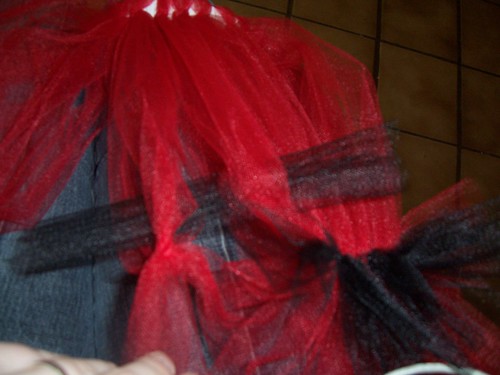
      Cut 6 inch strips of your contrasting tulle. Connect each of the loops together by tying the small strips on right above the knot. Grab one strip from each of 2 neighboring loops and tie them together with the contrast strip.
      100_4544

      100_4540


      100_4541

      100_4542

      Do this all the way around until you have connected each loop to its neighbor, creating a loop.

      YOU'RE DONE!
      100_4554

      See more pics and show yours off on the tutu mafia flickr pool!


      Have fun!
      Related Posts Plugin for WordPress, Blogger...